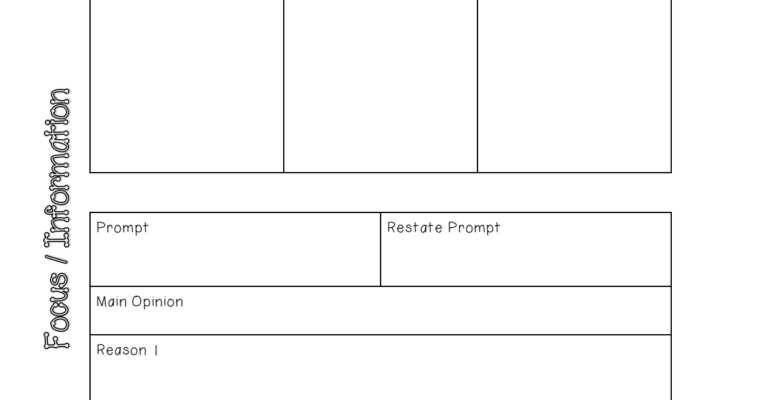
I love teaching writing in my classroom. At our district, we don’t have a writing problem so I had to create my own materials and find articles. I love using writing checklists since it helps students organize information from different sources. Narrative Writing Checklist: Focus/Setting […]
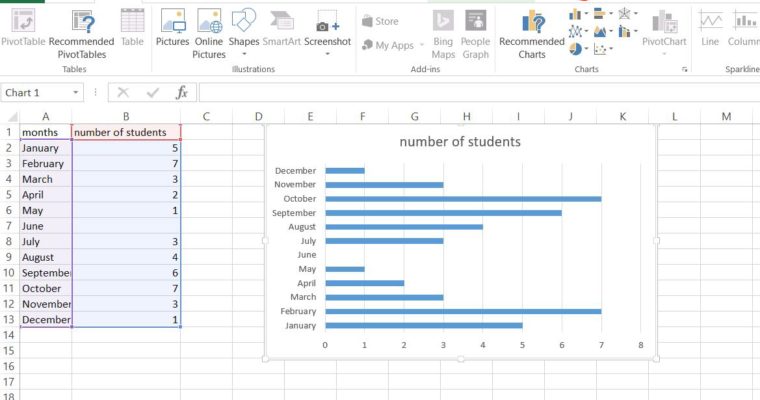
In order to cover the standard below while integrating higher DOK, I decided to teach students how to create their own graphs using excel. For those of you who have never created graphs on excel, it is fairly simple to do and can be customized […]
If you’re unfamiliar with the Micro:bit, it is a small and affordable microcontroller designed by the BBC for use in teaching computer science. I highly encourage you to read more about it. You can try coding it online using their online editor and Micro:bit simulator.
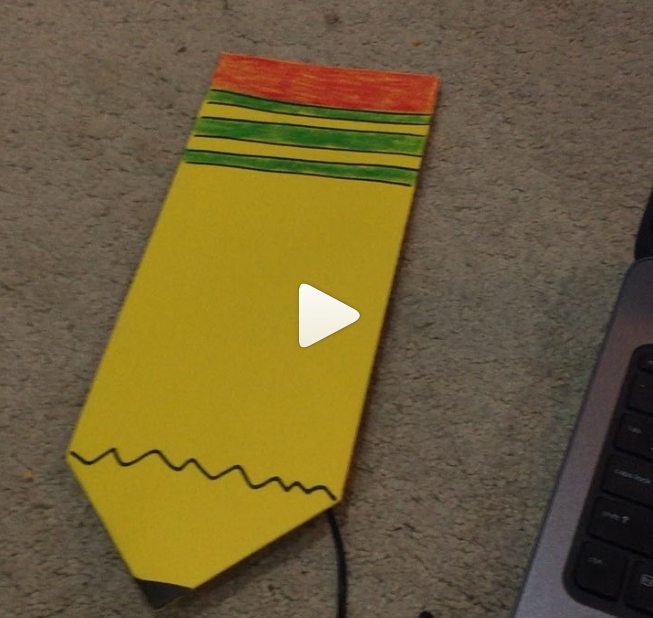
Below is a video of the Micro:bit programmed with Scratch on a Windows laptop. In this post we will go over the steps necessary to set this up. In the next post we will go over the Scratch code.
On the Micro:bit website, they list a few ways to work with Scratch. We will use the Micro:bit bridge developed by MrYslab. Comprehensive documentation and an easy to follow guide is provided by the developer here https://mryslab.github.io/s2m/ . We will work through the setup process.
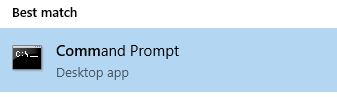
To check if you have Python installed already open a command window by hitting the Windows key then typing ‘command’
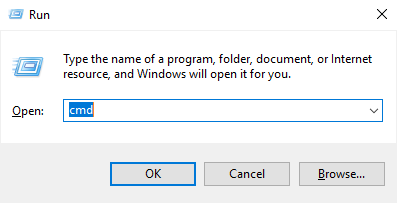
Or use the shortcut ‘Windows Key + R’ to bring up run, type in ‘cmd’ and hit enter
The guide states it will work with either Python 2 or Python 3. Download and install Python 3. If you plan on learning Python in the future you should learn Python 3
Don’t worry, you do not need to know how to code in Python, MrYslab provides you with the code you need
At this point you should have Scratch offline editor installed, Python 3 installed, mu editor installed, flashed the Python code onto the Micro:bit, ran the ‘pip install s2m‘ command, and have your Micro:bit connected
If you already have the Scratch offline editor installed, run it to see if an update is required. If so, go ahead and update Scratch. When you are done updating Scratch close it.
MAKE SURE YOU ARE USING SCRATCH 2
MAKE SURE SCRATCH OFFLINE EDITOR IS CLOSED
MAKE SURE THE MICRO:BIT IS PLUGGED IN VIA USB TO YOUR PC, YELLOW LIGHT ON INDICATES IT IS PLUGGED IN
Open a command window and run the command ‘s2m’
If you see the following error:
Make sure you flashed the Python code onto the Micro:bit (see Step 4)
Make sure the Micro:bit is plugged in via USB
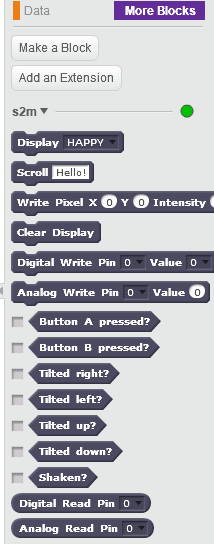
Scratch should open up and under ‘More Blocks’ you’ll see the Micro:bit blocks.
Make sure to SAVE your scripts before shutting down.
MrYSlab provides documentation for all the Micro:bit Scratch blocks provided. I recommend you take a look and familiarize yourself with the blocks.
Programming the Controller:
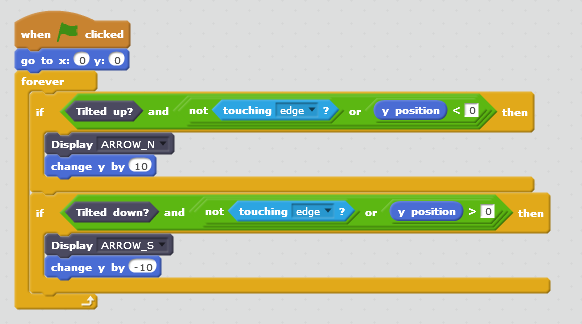
Before we finish Part 1 and move onto Part 2, let’s test the Micro:bit and Scratch. Let’s program the Scratch cat to move up and down based on the Micro:bit’s tilt.
Try the following code on an empty Scratch project running s2m. It should move your cat up and down depending on the Micro:bit tilt, and the cat should stop at the top or bottom edges.
Let’s examine the code
To move up, the following must be true: (Tilted Up) AND (NOT touching the edge OR y-position is negative). Let’s break this down.
The AND means both conditions to the left and right of it must be true. (TRUE) AND (TRUE)
The OR inside the parenthesis means either condition must be true. So the following will yield true:
(TRUE OR FALSE) (FALSE OR TRUE) (TRUE OR TRUE)
Therefore, the following combinations will make our condition TRUE and move our sprite up:
(TRUE) AND (TRUE OR FALSE)
(TRUE) AND (FALSE OR TRUE)
(TRUE) AND (TRUE OR TRUE)
Micro:bit tilted up (MUST ALWAYS BE TRUE)
When we tilt up, this will be TRUE
Otherwise, this will be FALSE (tilted down or no tilt)
Sprite is NOT touching the edge (edge being the top or bottom of the screen since we’re moving up and down)
If we’re NOT touching the edge this will be TRUE
If we are touching the edge this will be FALSE
Sprite’s y-position is negative
We use this to distinguish the sprite touching the bottom versus the top edge
If we’re not touching the edge, our position does not matter since the OR will yield true
(TRUE OR FALSE/TRUE) gives us TRUE
If we’re touching the bottom edge (which would also mean our y-position negative), we still want to allow our sprite to move up
(FALSE OR TRUE) gives us TRUE
If we’re touching the top edge (which would mean our y-position is positive), we don’t want our sprite to move up
(FALSE OR FALSE) gives us FALSE
To move down, the following must be true: (Tilted Down) AND (NOT touching the edge OR y-position is positive):
Micro:bit tilted down (MUST ALWAYS BE TRUE)
Sprite is NOT touching the edge
Sprite’s y-position is positive
Again, used to distinguish the Sprite touching the top edge versus the bottom edge
This condition is similar to tilting up, but we’re checking our moving down conditions
In the next post, we’ll go over the code for the game and mechanics behind it.
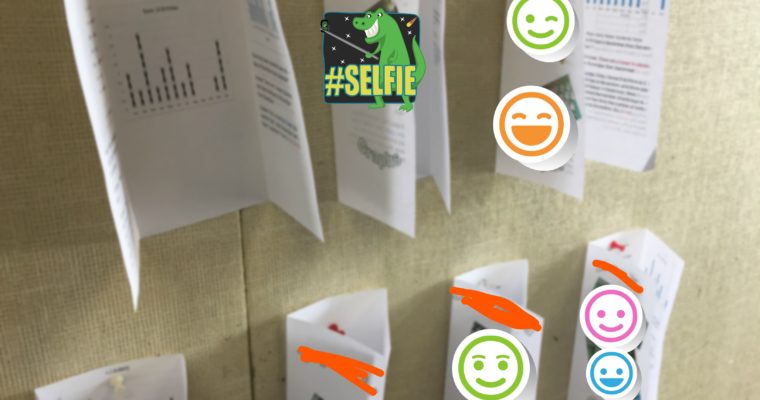
I posted this picture up a while ago and had a lot of questions on how to recreate it. Here are the steps: Take a picture of the person against a plain wall Insert picture in powerpoint Format –> remove background Format –> mark areas […]
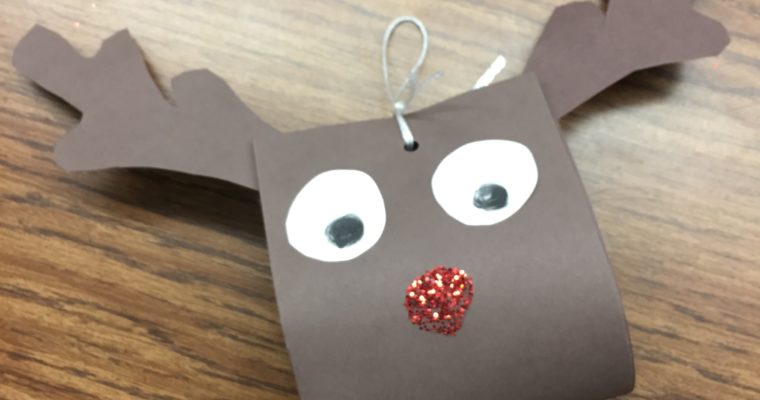
Parent gifts are done!! We created ornaments with student pictures and snow. Afterwards, we wrapped them up to look like reindeers. The 4×4 picture was taken against a white wall. I used two photo apps to create the background. The first app added a Santa […]
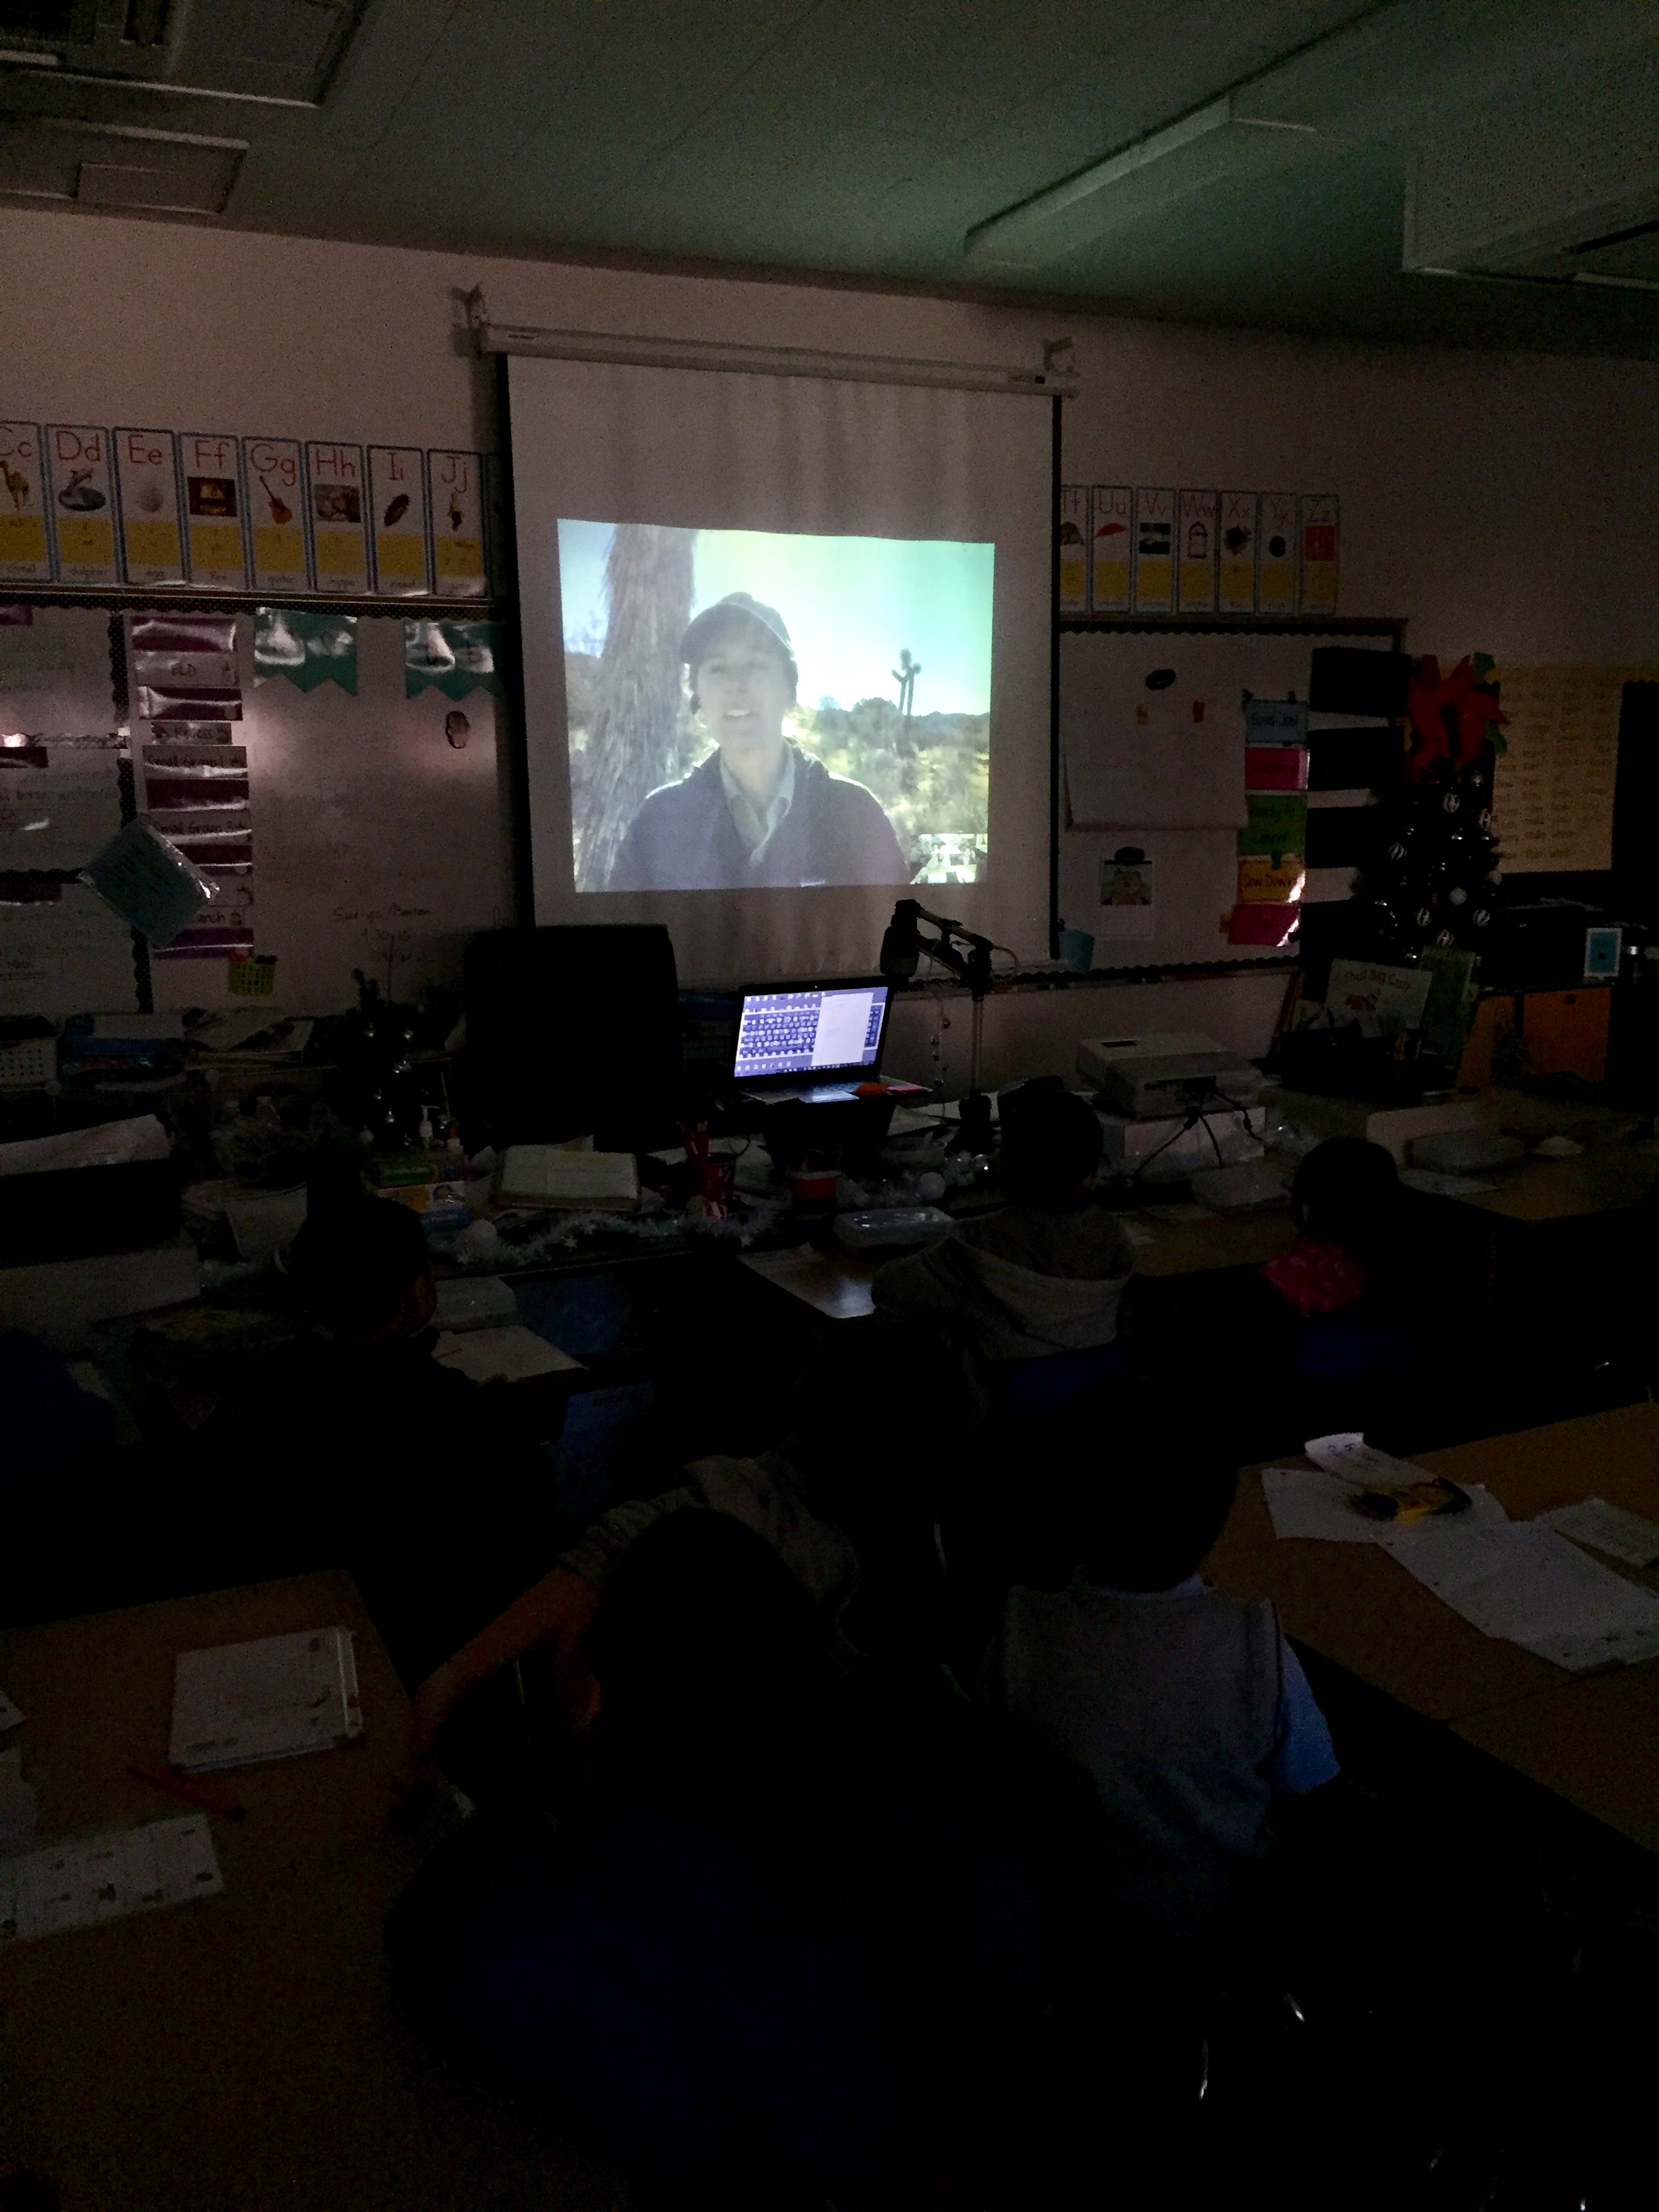
A few days ago I hosted my first Skype field trip with an educator at the Oakland Zoo. Well, I’ve been hooked ever since! My kids loved seeing different animals and having a Q&A session with a real person.
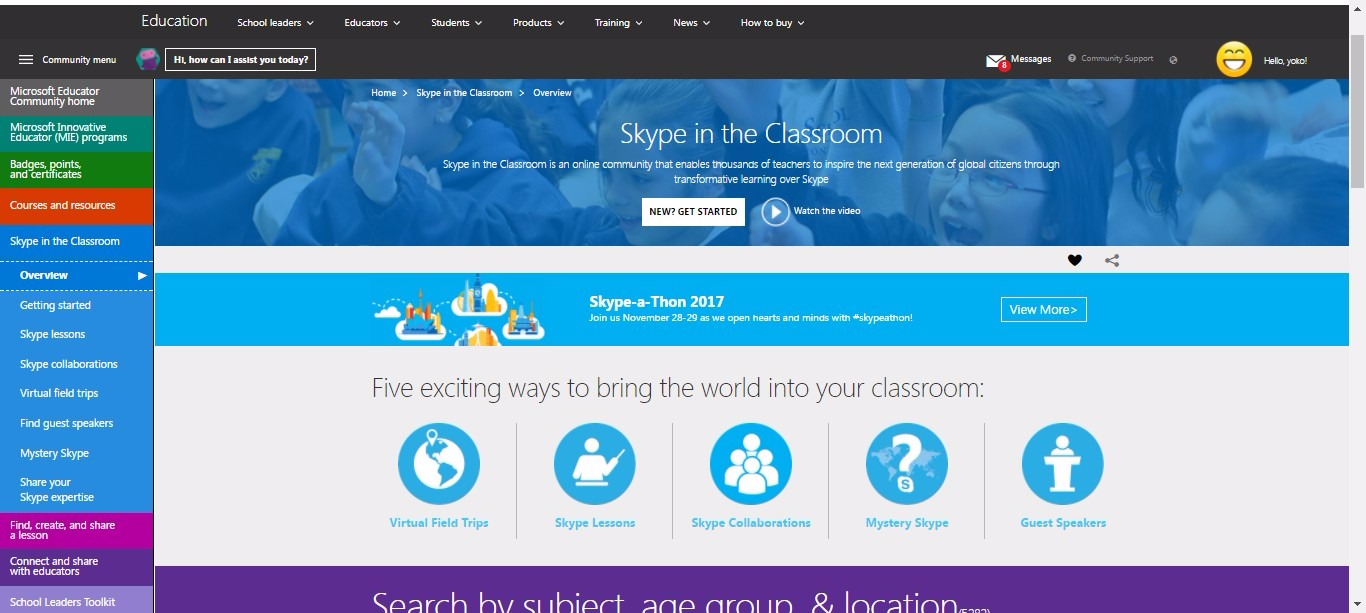
I’ve had so many people ask me how I set up a Skype lesson so I thought I would share a great resource that’s free. If you go to Microsoft Education and search Virtual Field trips, you will find many different sessions. You will need to set up an account with Microsoft (free) and will gain access to different resources, including the Skype sessions. I’ve already signed up for six more and currently waiting confirmation from the hosts.
In addition to setting up virtual field trips, you can host your own Skype lessons, participate in Mystery Skype, or invite a guest speaker.
If you’re interested in a webinar, check out this website for some free sessions! You have the choice to either have your class participate in the webinar or just sit back and watch without participating. I highly recommend that you set up Kahoot so your kids can play along with the session.
I’ve had a few requests to put up tutorials/instructions for creating graphs on Excel so here it is: Bar Graph Line Plot Picture Graph Dot Plot Histogram Box Plot Box Plot Part 2 Making Graphs With Excel – Instructions
If you would like to add some extra questions in the form, here is an explanation: The array “e.values” stores the responses the user submits in the Google Form. In your case, you will need to add another question to the end of the Google […]
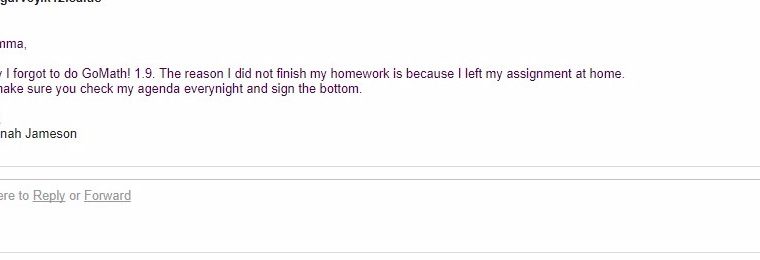
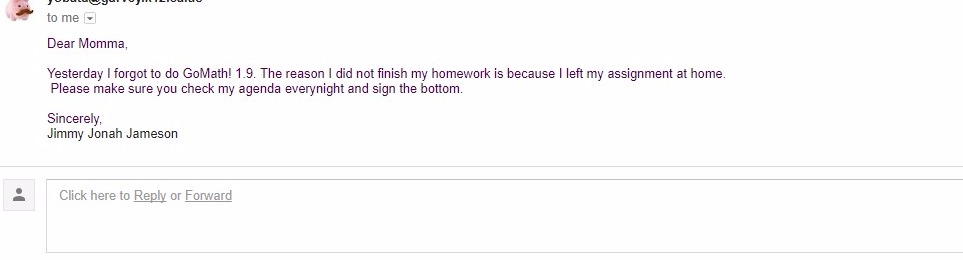
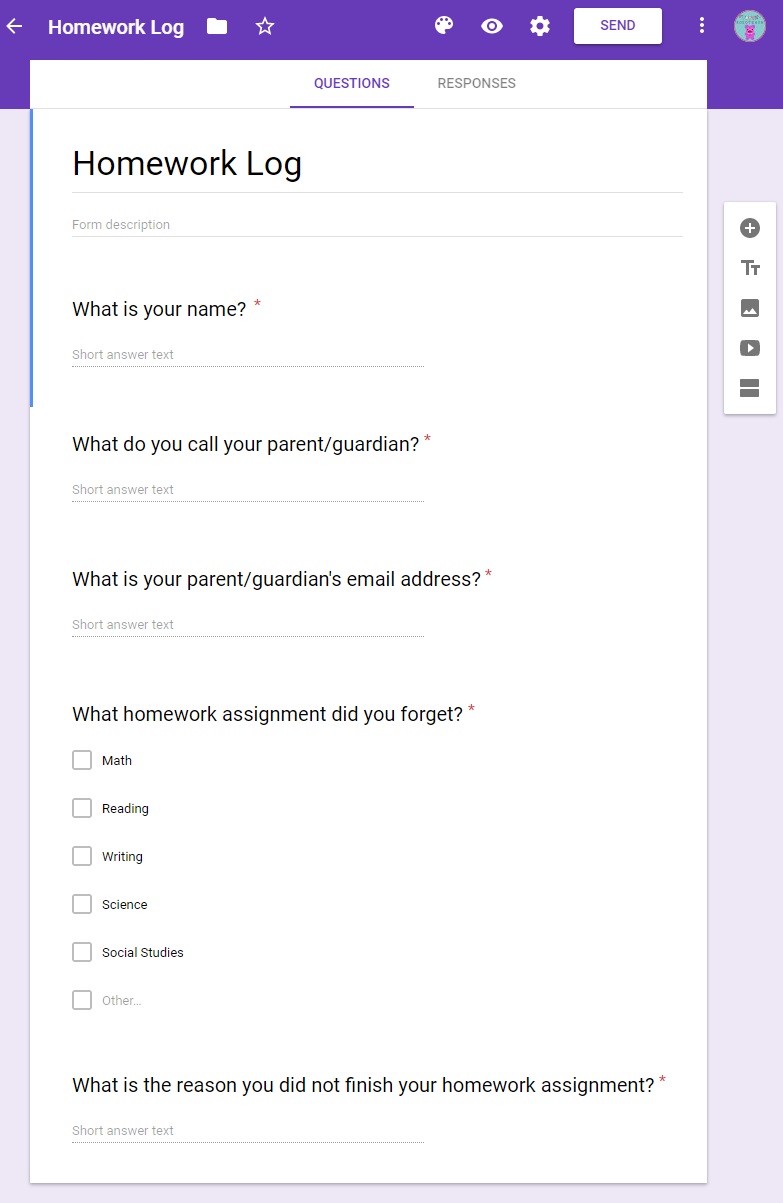
Need a good way to hold students accountable for their homework? Try Google Forms! In my classroom, I have students fill out a Google Form when they miss a homework assignment. Then, an auto generated homework email is generated to the parents and the teacher. This is a great way to notify parents of missing homework.
*I have tried a few Google Form add-ons but found that some of them stopped working, or left advertisements in the email. The script has no ads, only relevant information.
Below is the image of the Google Forms:
Below is the image of the email that is auto generated from this form:
The Freebie includes: A link to my YouTube tutorial A link to copy my Form The script which will allow Google Forms to generate an email
EDIT:
Someone asked me how they can modify the form to add a question that explains what they will do differently next time. I wrote the answer in a different post which you can find HERE.
New multiplication sheets are now available! Have students practice multiplication facts from 1-12. You can easily check for understanding by looking at the “Secret Message”. Over 900 pages! Download the freebie HERE Mystery words include: Holidays: WINTER FOURTH OF JULY MARTIN LUTHER KING INAUGURATION DAY […]
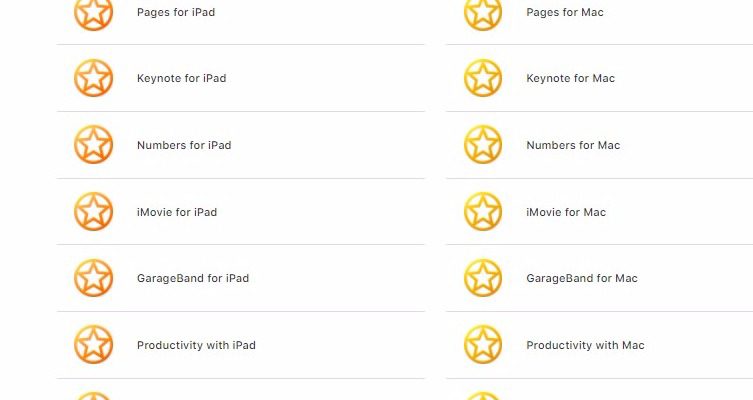
I’m been pretty busy this summer doing summer school, working on TPT, catching up on reading, and completing digital badges! Whenever I mention digital badges, I always get a ton of questions so I decided to make a quick blog post with some links. What […]