Blog

Multiplication Freebie

Multiplication Freebie

Multiplication practice! This is a great worksheet to practice multiplication using different strategies. Assign students a random number that they will write in the “Number” box. Students write a multiplication equation in the “Commutative Property” box and circle it. Students draw/write the commutative property, number […]

Division Freebie

Division Freebie

Division Freebie! Origami Division is similar to Origami Multiplication in simplicity and function. I have created sheets two sets of worksheets: Origami Division 1-10 (50 sheets and 100 sheets) Origami Division 1-12 (50 sheets and 100 sheets) The 1-10 sheet is perfect for reviewing division […]

Multiplication FREEBIE!

Multiplication FREEBIE!

Let me first start off by saying I hate grading multiplication sheets. I have put the answers up on the projector for students to grade themselves, students have traded papers and graded each others, and I have sat down and graded them. Overall, it takes about 10-15 minutes for these sheets to be checked and graded – with students swarming my desk to see the answers on the projector. I have even given students answer sheets to keep in their desk, but I always have 1 or 2 students that lose the sheet and they spent 5 minutes in class looking for it. 

My answer to these headaches are multiplication sheets that students can grade by themselves. No paper to look for in their desk, no projector, and no teacher needed! I call it, Origami Multiplication! 

This worksheet has three components, practice, assessment, and answer key.  


        Assessment side 

Practice side (single)

Students will fold the answer key back first. Each time they practice their multiplication, they will fold the box back. At the very end, they will check their answers with the key to the left. . 

If students are having difficulty with multiplication, I recommend having them check their answers after every box, then folding the box back and practicing again. 

Practice side (1-12 skills)

Students will fold the answer key back first. After completing the multiplication table, students will check their answer.

The answers will line up with the key to the left. 

Answer Key

After students complete the “practice” side,  they will complete all the problems on the “assessment” side. When they are finished, they can check their answers by folding the paper and using the “answer key”. I recommend using two colors when marking the boxes so it’s easier for the students to count their total score at the end.

Tip: Students can use the empty spaces to check the answers that they got wrong using a multiplication strategy: array, equal groups, repeated addition, skip counting, etc.

Calculate total score

I love this part…at the very end, students can fold their paper and staple it into their agenda for their parents to check and sign.


As you can see, easy peasy!


 Download the Freebie here 

Since this is a my first TPT product, I would really appreciate it if you could leave feedback/ follow me! Thank you!


Making Graphs on Excel

Making Graphs on Excel

In order to cover the standard below while integrating higher DOK, I decided to teach students how to create their own graphs using excel. For those of you who have never created graphs on excel, it is fairly simple to do and can be customized […]

My Favorite Chrome Extensions!

My Favorite Chrome Extensions!

    OurStickys You can create notes for different websites like post-its, and they will open up every time you launch that website.   Explain and Send Screenshots This is just a simple took you can use to take screenshots from websites and make some […]

Open House 2017

Open House 2017

Open House planning started in March as we started our thematic unit of Native American Culture. So so so so so glad it’s over and I can focus on SBAC.

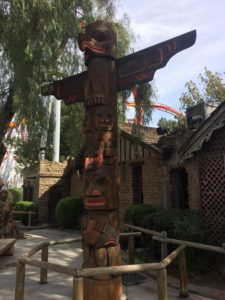
In March, our third grade classroom visited Knott’s Berry Farm to learn about Native American culture which included hearing stories about totem poles, watching some cool hoop dancing, experiencing what the inside of a tepee feels like, and doing some crafts. Overall, it was a positive experience for the students – we only wish we could have stayed longer to enjoy the park!


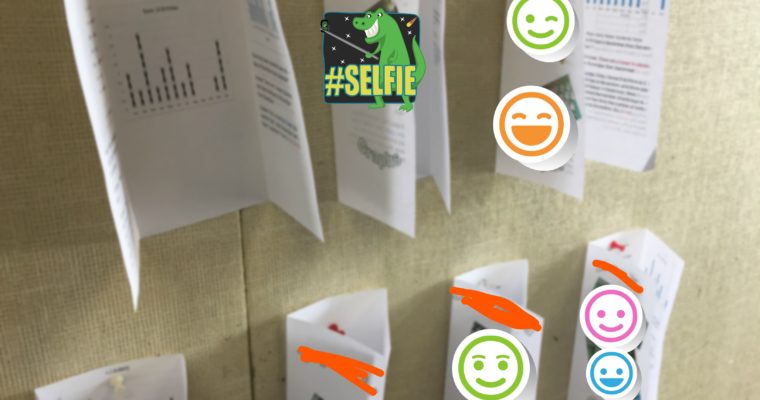
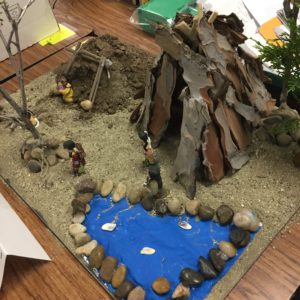
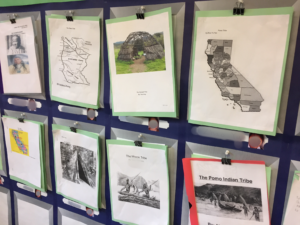
After returning to the classroom, the students did a report on a Native American tribe and had to create a model of their tribe’s dwelling. Here are the samples below.


My partner teacher had the students paint totem pole animals on paper and she stacked them on top of each other.


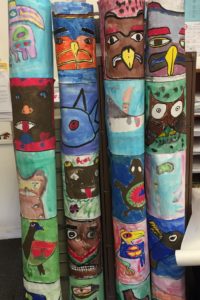
You can see the results here, the totem poles came out looking really amazing!! I just finish I had taken better photos. Perhaps next year we will put the totem poles outside the classroom door.


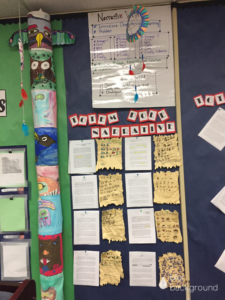
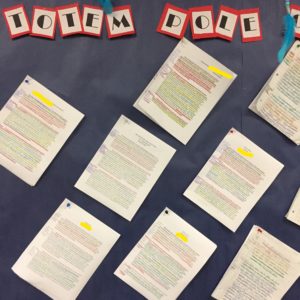
While my partner worked hard on the totem poles, I worked with the students on doing some close reading on two totem pole articles I found online. After finding the main idea and supporting details, we got to work on creating an opinion essay. Afterwards, we looked at the Native American symbols and the students created their own stories. Students were required to create a problem, three attempts to solve the problem, and a solution.


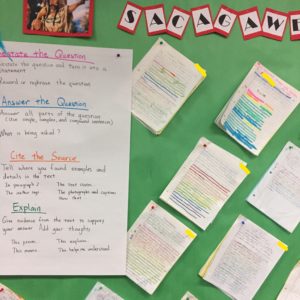
The students also read about Sacagawea and answered short response questions using the RACE strategy. If anyone is interested, there are TONS are resources available online.

R-restate

A-Answer

C-Cite

E-Explain


Over spring break, students chose a Native American tribe and wrote a report. They were required to have a cover page, introduction, 6 topics, and a conclusion.


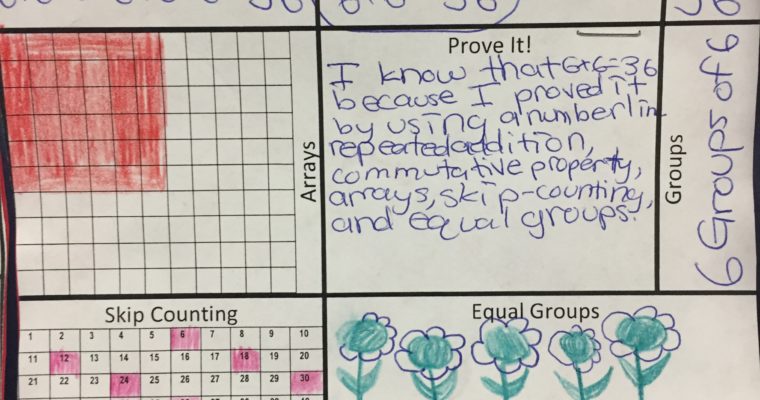
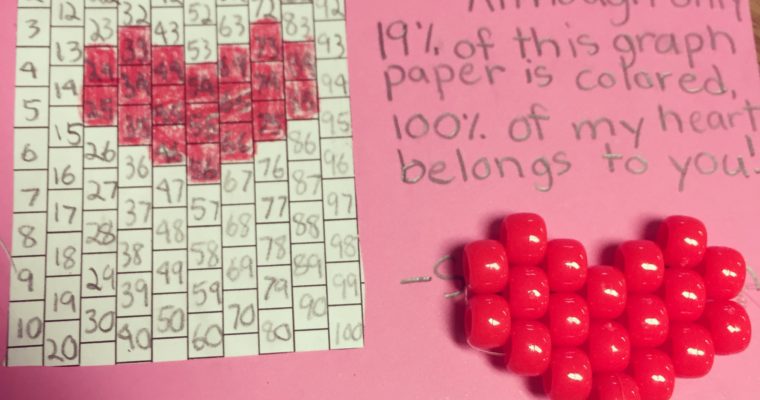
Since we learned about different Native American symbols and their meanings, I connected this to math by having students find the area and perimeter of one of the symbols.

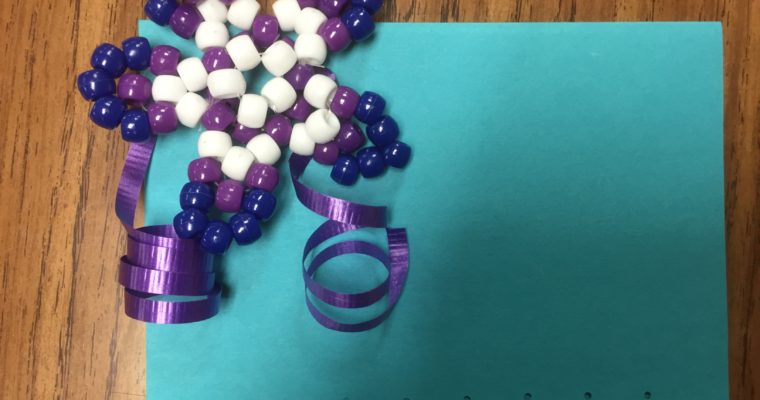
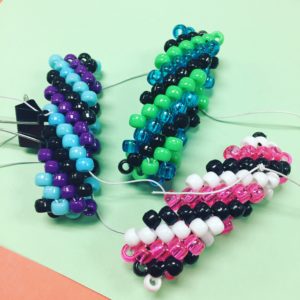
We finished up our Native American thematic unit with some bead work done by the students. Overall, it took about 3 hours for their little hands to complete this project but I think it was worth it. Some of the students continued to wear their bracelets to school. If you are interested in making your own bracelets, search “multi-stitch” on youtube and you should come up with a bunch of tutorials to make these.

I also have method of making a very simple bracelet with a variation of the right angle weave if anyone is interested. I will be posting it in a future post.


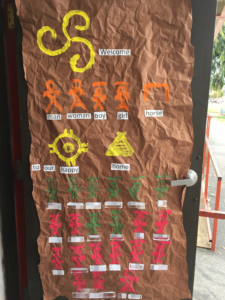
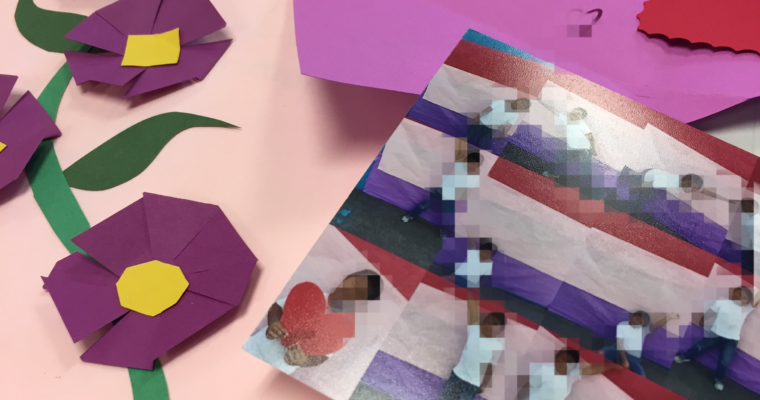
Finally, a welcome door sign!

Mother’s Day 2017

Mother’s Day 2017

I’m glad Mother’s Day crafts  are done!        Every Mother’s Day I take these heart shaped photos and get them printed either as 4×4 or 5×5 glossy or matte. This year, I realized that I could just print them on 4×6 and cut them out. […]

Volunteer Appreciation Cards and Flowers

Volunteer Appreciation Cards and Flowers

      Two years ago, my 5th grade colleague and I were heading the Volunteer Tea committee so we taught the students how to make beaded flowers. The flower is my own design, and looks best with 5 or 6 petals. I also have […]

Air Plant Experiment

Air Plant Experiment

As one of their scientific investigations, students got into groups and learned about plant adaptations. “Do you know what air plants are because you’re going to be taking care of them!” After looking at students’ confused faces, we read two articles on air plants that covered what they are and how to take care of them. We also watched an episode of Magic School Bus where the kids are in the rain forest. My kids got super excited when the word “Bromeliad” was mentioned. I don’t think a group of kids have ever yelled and cheered in excitement to hear those words during that show! Anyways, since the articles were focused on air plants in tropical climates, the students hypothesized how much outdoor air, sunlight, and water their plant would need to survive in the California desert climate. They took care of their plans over the course of a few months.


After several months, only a few plants survived.

Tips:

  1. Pick a strong species of air plants. Some of the air plants had such delicate leaves that they were crushed within a few weeks. The ones pictured above survived some abuse.
  2. Make a carrying case. Since air plants grow on trees, the carrying case made out of straws were perfect for hanging.
  3. Color code straws by group.
  4. Be careful on windy days.
  5. Designate group leader, daily observer, watering leader, and indoor/outdoor liaison leader (the person who brings the plants in and out).
  6. Send out a letter to all classrooms instructing students that my class is doing a science investigation and that the plants are not to be touched, only looked at.
  7. Have a designated student take the plant home during winter break and spring break.
  8. Keep their science logs digital, either on Google docs or Google Classroom.
Valentine’s Day Craft/Math

Valentine’s Day Craft/Math

One year I taught a combo 4th and 5th grade class. For their Valentine’s Day craft, i decided to teach the students how to make a beaded heart and tie it into fractions, decimals, and percentages. Unfortunately, I can’t locate all the photos but here […]